Makerspace What Is Makerspace? To Design A Button
Kategori: Allmänt
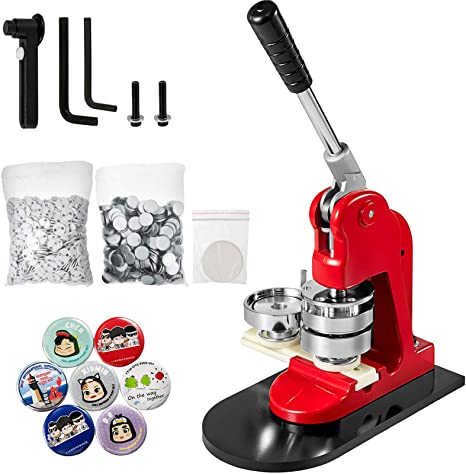
Button It's a button. Who makes the button? I do! Teens do! But how? Yesterday, I gave you some basic information on making buttons, and today we'll talk about how to design your buttons.
A button insert is your final image in the circle you've cut to the size of. It's put between the shell and the pin the back of your button which will eventually be your button. It's the graphic element you create to make your button.
What Programs Can You Use To Create A Button
This is the final step. While it may sound odd it's the ultimate goal to create a button insert which is appropriately sized. This graphic piece will help make your image stand out. The final step is sizing and printing the button insert. The first step is to size and print the button. When you really want to find out effective information on button maker, you have to sneak a peek at https://www.buttonmakers.net/ website.
For finalizing your button design, I recommend Microsoft Publisher. This allows you to create your button exactly to size, and then create it in a printer. It is possible to select a circle and scale it to 2.25 when you're creating an insert Shape feature. It is possible to use the fill feature to fill the button with your own circle, or you could use it to create an outline and then overlay it on your photo to ensure that what you'd like to appear will in fact appear on the center of the button maker.
Why do we need Publisher?
You require a software for publishing that can handle graphics effectively and prints in a consistent size. If you create a circle in PowerPoint but it doesn't print properly to size, regardless of how it appears on display. This is because the PowerPoint slide isn't exactly like a sheet. It's a computer-oriented software, and not a print-oriented program. Publisher was developed to design and print materials. It's great for printing buttons.
You could also create the image in another program, then take it out and paste it into Word in the appropriate size. However, this is a time-consuming process. I only recently got Microsoft Publisher on my personal laptop and have been using Word for a long time. While it's functional, it's more complex than I would prefer.
You Don't, However, Have To Begin With Publisher In Order To Design Your Button
Let's return to the basics - creating your own button insert.
If you use Publisher to create and print your buttons, you can actually use them to create the whole button. Publisher isn't the sole tool I employ. There are a variety of other options to explore.
Although I highly recommend that you end and print using Publisher, it doesn't mean you must begin there. I most often don't. As an example, I may get smitten by an image I've taken on Instagram so that becomes my first step. I may create something online using Canva and then import it to Publisher to scale and print. There are many photo apps that let you include text, filters, and other elements to your photo. After I have created my photo I save it to my computer. Then, I load it into Publisher to print and size. There are buttons that require many steps. The process of designing is the thing I enjoy.
Some Design Tips To Keep In Mind
All the fundamental rules of graphic design basically apply:
Make sure that your fonts are legible - both in style and color when using an accent color
Limit the number of fonts you use
When resizing images Be conscious of the effects of pixelation
Also see: Learn the Basic Elements and Principles of Graphic Design
In addition, remember that you're designing in a circular format. This is a unique issue, considering that most traditional design is done in a square form. Focus your image in the center of the circle. Make sure you keep any important text or other elements intact.
